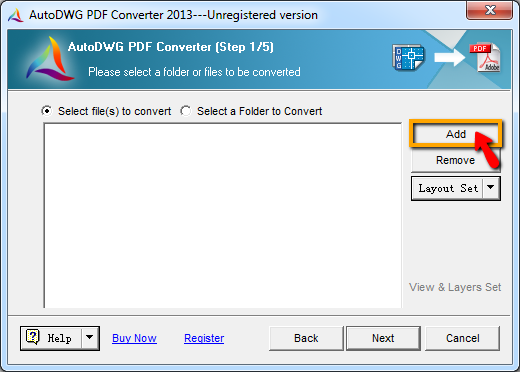
| Step 1 |
Add Files: |
|
Add your files or folders for conversion and select the desired layouts for conversion. You can customize how the files will be displayed in PDF format. Then, click "Next."
|
|
Step 2 |
Choose to customize settings or use the default options provided. |
|
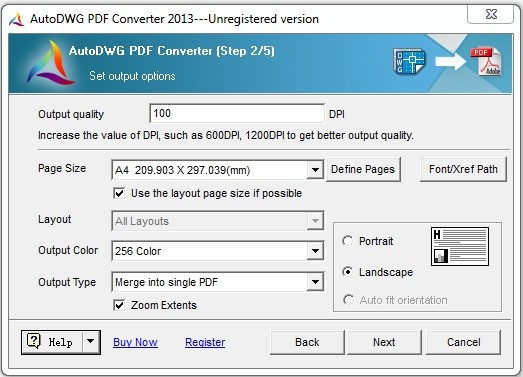
Set Options
- Precision Solution
- You may input a value such as 300/ 600 or 1200 on:
Higher value such as 1200 DPI for better output quality, and this will increase the created *.pdf file size.
- Page Size
- Click on the pull down menu and select the standard paper size:
This allows you set the size of the paper.
- Click on the button "Define Pages":
Let you Add or Edit the page size, this will take you to another dialog box, you may click on "Add" to create new page size name, and from the list double click on the new item, then you can set up the customized page size in mm or inch.
- Layout Page Size
- Select the option "Use the layout page size if possible":
The layout page is set for printing which should include the page information such as page size, orientation, etc. So after you choose this option, the converter will check these information automatically. If the information is existing, the converter will use it instead of the page size set in the converter.
- Font/XREF Path
- Browse and add more *.shx font file(s) to the list:
If the text quality is not satisfactory such as replaced or size changed, please add the SHX font directories to the SHX font directories list.
- Output Color
- Click on the pull down menu and select the background color:
Choose form 0 ~ 255 AutoCAD color index.
- Output Type
- Create individual PDF per drawing:
For example, to batch convert 12 DWG files to 12 separated PDF files, file created as same names, only the extension file name changed to *.pdf.
- Merge into single PDF:
For example, to batch convert 12 DWG files to 1 single PDF file, DWG files are converted as several pages in this PDF file.
- A PDF file per layout:
Allows you to create several PDF files, there is only 1 page in each PDF file, which converted from 1 layout of the DWG file.
|
|
Step 3 |
You can customize pen widths or stick to the default settings. |
|
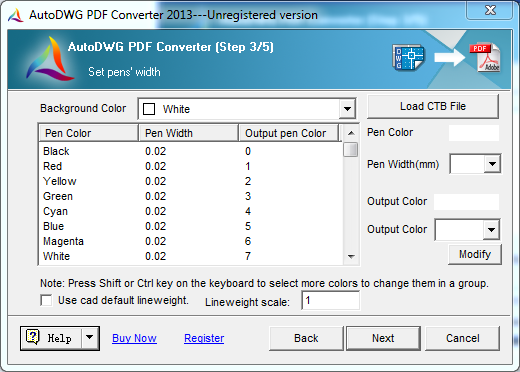
Set Options
- Background Color
- Click on the pull down menu and select the several of color types:
256 level color, Black & White, 256 level gray are the options color and weight column.
- Load CTB File
- Click on the 'Load CTB file' button and select CTB file:
CTB Line weight and color will be appload and shown in the table.
- Use CAD Default Line Weight
- If check this box, AutoDWG will choose to convert with the default line weight and color of lines, blocks, etc
Use the current drawing line weight and color setting to convert.
|
|
Step 4 |
Set the desired output folder or file and choose to turn off invisible layers for all the drawings or use the default settings. |
|
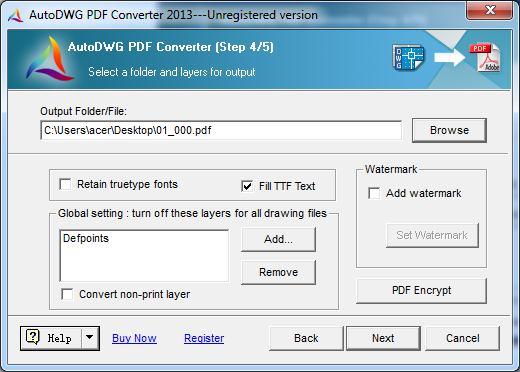
Set Options
- Reduce the Output File Size
- In order to reduce the output file size, please uncheck the box of "Fill TTF Text" in step 4/5.
If a drawing contains True type fonts, as the texts increasing, the output PDF file size will be enlargement.
This is because characters carry font styles and solid entities. It is the solid entities cause the enlargement of the output file size.
Here is the character looks like in a DWG drawing:

When convert the drawing to a PDF, if you would like to get a smaller size of the PDF, please unselect "Fill TTF Text", and the converted texts will only preserve the font style but the solid entities will lost. As a result, the converted PDF file size will be much smaller and the process of the conversion will take less time.
Here is the character looks like in a converted PDF:

However, if you leave the box checked in step 4, you can still get the filled texts in a converted PDF.
- Add Watermark
- Add customized watermarks (pro version only)
To add watermark, please check the 'Add Watermark' box and click on the 'Set Watermark' button.
- Open or save a watermark: Click on the 'open' or 'save' button to open an existing watermark or save the current watermark in a specific path and name.
- Insert test watermark: You can freely add texts in watermark and set text fonts, height, rotation, alignment and position on layouts.
- Insert image watermark: Add company logo or other images as watermark to preserve your copies of intellectual drawings.
|
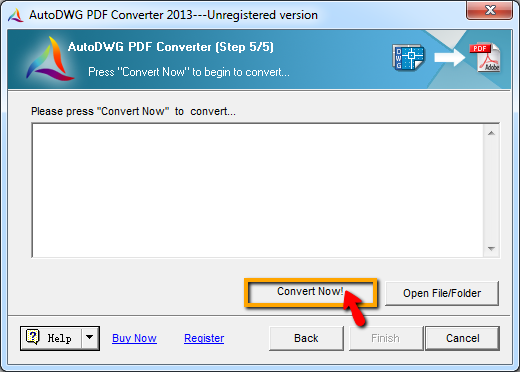
| Step 5 |
Convert Now |
|
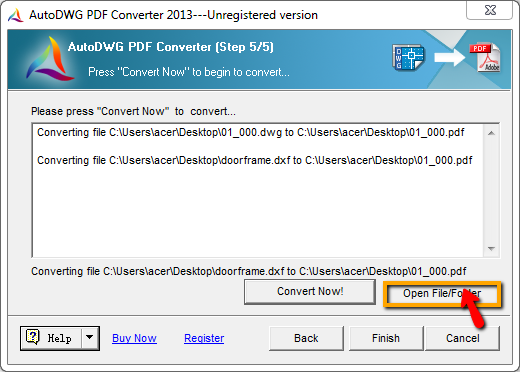
Click the "Convert Now" button to initiate the conversion.
The process will take a few seconds. Once complete, you can view the converted PDF by clicking "Open File/Folder." If you prefer, click "Cancel" to exit.
|